
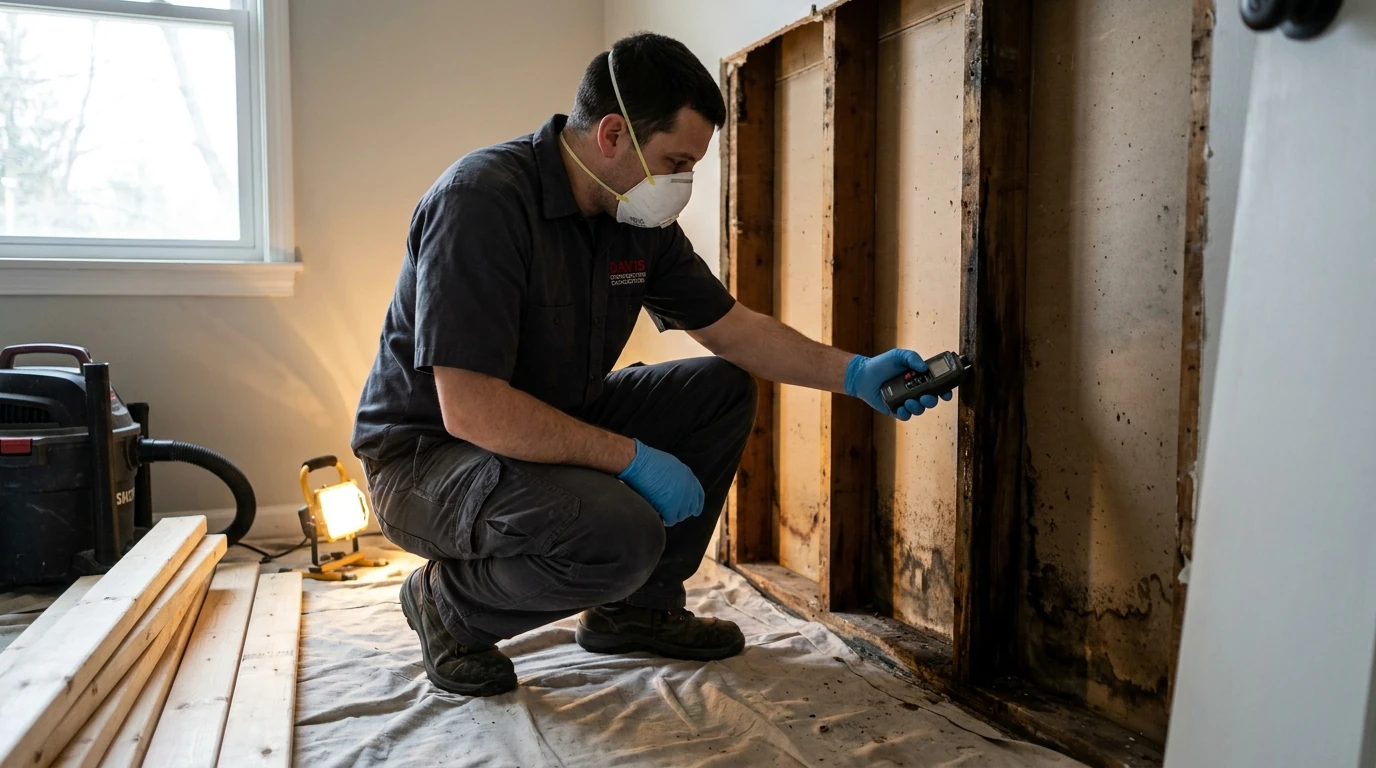
You pulled off the old drywall, lifted the vinyl flooring, or opened up a wall to run new wiring, and there it is: dark staining, a musty smell, or fuzzy growth on the back of the material you just removed. Finding mold in the middle of a renovation is common, and while it’s frustrating to hit a snag, the timing is actually in your favor. The area is already open, the moisture source is usually right in front of you, and dealing with it now is far cheaper than discovering it after you’ve closed everything back up. Here’s how to handle it without derailing the whole project.
Why Renovations Uncover So Much Mold
Most mold in a home lives out of sight, and renovation is the moment it finally sees daylight. Slow leaks behind a shower surround, condensation inside an exterior wall cavity, and vapor rising through a crawl space all do their work in places no one looks until a remodel opens them up. The growth was often there for months or years before the first pry bar went in.
In the Huntsville and Madison area, a few regional factors make this especially common:
- Humid summers. North Alabama’s warm, humid season keeps indoor humidity high, and anything above roughly 60% relative humidity in a wall cavity or crawl space is enough to sustain growth on organic material.
- Older housing stock. Twickenham-era historic homes in Huntsville and the 1970s–80s ranch homes throughout Madison and Athens were built with paper-faced drywall and, in many cases, minimal vapor barriers. Aging masonry in older neighborhoods also wicks moisture inward.
- Crawl-space construction. A large share of homes here sit over vented crawl spaces. Ground moisture drives upward into floor joists and subfloor sheathing, so mold on the underside of a floor is frequently the first thing found when flooring comes up.
- Storm and roof history. Tornado and hail season in April and May leaves roofs and flashing with small breaches that let water track into wall and ceiling cavities long before anyone notices a stain.
None of this means your house has a unique problem. It means the moisture conditions that feed mold are ordinary here, and a remodel is simply when they become visible.
Step One: Stop Work in That Area
The single most important thing to do is stop disturbing the material and isolate the space. Demolition, sanding, and cutting aerosolize spores and carry them on tools, clothing, and foot traffic into rooms that were clean five minutes ago. Continuing to work around active mold is how a contained, one-room issue becomes a whole-house one.
- Turn off the HVAC system so the ductwork doesn’t distribute spores through the house.
- Close doors to the affected room and, if the job will sit for a bit, seal the opening with plastic sheeting.
- Don’t run box fans pointed at the growth, that spreads it.
- Photograph everything before anything else is moved or removed. Those photos matter for both your remediation plan and any insurance claim.
Work in unaffected parts of the house can usually continue. It’s the moldy zone specifically that needs to pause until it’s assessed.
Step Two: Find the Moisture Source
Mold is a symptom. It cannot grow without a water source, so the actual problem is wherever the moisture is coming from. Because renovation has the wall or floor open, this is the easiest it will ever be to trace. Look for:
- Active drips or staining around plumbing supply lines and drains
- Water tracking down from a window, roof penetration, or flashing detail
- Ground moisture and standing water in the crawl space below
- Condensation lines on the interior face of an exterior wall, common where insulation is missing or compressed
If you remediate the mold but skip fixing the source, it comes back, often within weeks. This is exactly why the order of operations matters: correct the leak or moisture path first, then remove the growth. Mold that appears well away from any obvious opening may be feeding on a hidden leak, our guide on the signs of hidden mold covers what to watch for.
Step Three: Decide DIY vs. Professional
Some discoveries are genuinely small. A patch of surface mold smaller than about 10 square feet, roughly a 3×3 area, on a non-porous surface with an obvious and corrected moisture source can often be cleaned and moved past. Most renovation-era discoveries are not that tidy, because by the time growth is behind drywall or under flooring, the material itself is usually colonized. If you’re unsure what you’re actually looking at, our guide on telling black mold from regular mold walks through the visual and moisture-history clues.
Call in a professional when:
- The affected area is larger than about 10 square feet
- Growth is on or inside HVAC equipment or ductwork
- The mold is on structural framing, subfloor, or inside the wall cavity, not just the surface
- The discovery followed a significant water event like a burst pipe, roof leak, or flooding
- Anyone in the household has asthma, allergies, respiratory conditions, or a compromised immune system
Professional remediation isn’t just cleaning. It involves containing the area, running HEPA filtration during removal, properly disposing of affected porous materials, and verifying the space is clear afterward. Remediation professionals follow the industry S520 Standard for the sequence and safety protocols this work requires.
Step Four: Sequence the Remediation and the Rebuild
This is where a renovation-context mold discovery is different from finding mold in a finished home: you’re about to rebuild the exact area anyway. That makes the correct sequence straightforward, but it has to be respected:
- Contain the affected area.
- Fix the moisture source so the problem can’t recur.
- Remove the colonized materials and remediate.
- Dry and verify the space is genuinely dry and clear before anything gets closed up.
- Rebuild with new materials.
The costly mistake is compressing steps 4 and 5, closing a wall back up before it’s confirmed dry and clear because the project is behind schedule. Mold sealed inside a freshly finished wall keeps growing on the new paper-faced drywall, and the next time anyone sees it, they’re tearing out finished work instead of open framing. If your remodel is still in the planning stage, building a moisture check into the schedule is one of the smarter moves you can make, our post on how to plan a home remodel covers where it fits.
Why Handling Both Under One Roof Helps
The awkward part of finding mold mid-remodel is that it can split a project between two companies, a remediation firm and your builder, with a handoff gap where nobody owns the schedule. Davis Construction Contractors is a family-owned, licensed and insured contractor that has served Madison and North Alabama since 2008, and we handle both mold remediation and the home remodeling itself. The same team can remediate the affected area, confirm it’s dry and clear, and pick the renovation back up, so the work stays sequenced correctly and the project keeps moving. One call covers both sides of it.
If you’ve opened up a wall or floor and found something you weren’t expecting, call us at (256) 771-0326. We’ll help you figure out the scope, trace the moisture source, and get your renovation back on track.